Tips on Choosing a Swimming Pool Cover
January 25, 2023
Importance of Pool Safety
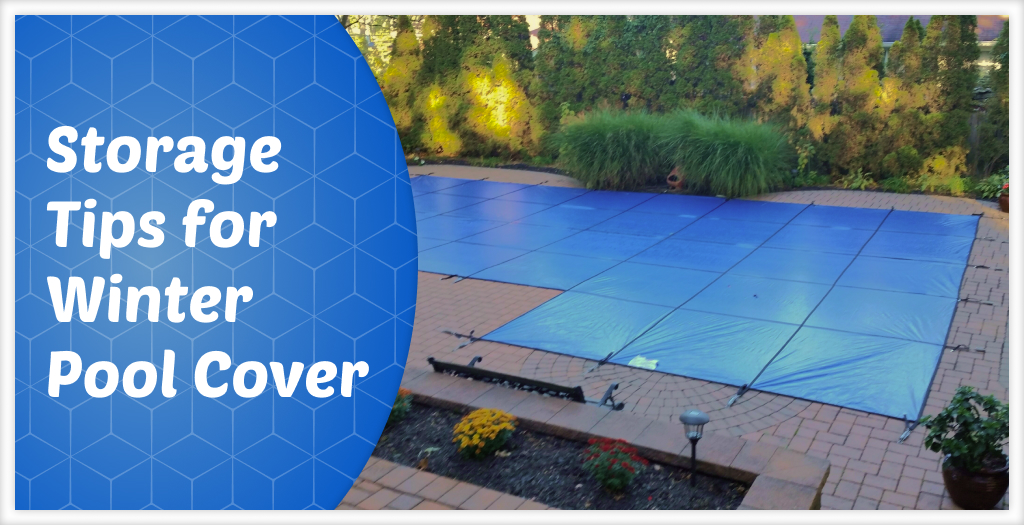
February 28, 2023Storing winter pool covers is a necessary step during the winter. Removing the cover by rolling it up and tossing it in your shed or garage is easy. But as the cover gets exposed to the elements all winter, wherever you store it, it is likely to be exposed to creatures and rodents throughout the summer. Therefore, the person’s primary interest should be to help you protect pool cover for winter. Thus, it is not something you have to spend money on every year continuously.
It should take about 30 minutes of your time, excluding the time required for the pool cover to dry up under the sun. You’ll need to take a few specific steps and we do not recommend attempting the entire process alone.
Step 1: Clean the Cover top before the removal
The first step you’d like to take in the pool cover storage process is to clean the top of the cover thoroughly. It helps get rid of debris caught in the cover when removed, potentially leading to holes and tears. You do not need any special chemicals to clean the cover. Instead, you need to grab a garden hose and spray it clean.
Step 2: Get a friend
You need a second person who can help you assist with the next few steps. Assuming you’ve purchased a mesh pool cover, you may need to remove the cover springs and screw down anchors before moving the cover. Make sure that you do not skip this essential step, as you may end up with unwanted tears in the cover if it snags on the anchor while removing it.
Step 3: Remove the cover carefully
Here you’ll need to make sure that you have a helping hand. You should start at one end and fold the pool cover as per the style in very small sections. Then you can carry it over to a flat surface (pool yard or deck) and lay the cover flat. While it may be easy, you’ll want to be as careful as possible to ensure that it doesn’t get caught on anything.
Step 4: Clean the other side of the cover
Another essential step in pool cover storage is the process. The cover’s side facing the pool water will need a thorough cleaning. Again, no harsh chemicals are needed, just water and mild soap. If you notice a lot of grime, you may need a scrub brush, but you shouldn’t need anything beyond that.
Step 5: Air Drying Completely
Once you soap and scrub, rinse the cover and leave it flat to completely dry. It shouldn’t take too long, so we recommend checking on it frequently. If you lay it out on the lawn to dry, you’ll need to remove it as soon as possible so it dries out. Leaving the pool cover on the grass for an extended time could damage your lawn.
Make sure that you do not skip the step or you could run into issues with mildew and mold.
Step 6: Examine the cover and patch out holes
Once the pool cover is dry, look it over to make sure that there are no small tears or holes you might have missed. We recommend making any repairs before you put your pool cover in storage.
Step 7: Store away for next winter
The final step for correct pool cover storage is to purchase a bag to store the pool cover. A hard plastic storage or protective bag can help store the pool cover.
Fold the pool cover in half multiple times until you cannot do it anymore. Then, you should place it inside your box or bag and seal it completely. It will ensure any critters or rodents steer clear of your investment. Once you seal it, store it away and enjoy your pool.
Conclusion
Pool covers are the best option to keep your pool area safe during winter. It would help if you kept debris out of the pool to reduce the cleaning and maintenance required during the summer.
If you’d like to learn more tricks and tips on using the pool cover, you can contact Lifesaver Poolfence today. For more information and the latest updates stay tuned in with us.


